A story of an orchid by Yvette Lamusse
Six years ago, a close friend’s daughter got married. It was the most beautiful wedding with orchids everywhere! I was one of the lucky guests who was offered to take an orchid home from the wedding. That when my love affair with orchids started!
I remember every time I walked past it – I couldn’t stop admiring this beautiful plant. In the mornings I would have a cup of coffee on the patio, just so that I could say hello to my orchid! Six Years later – the orchid is still alive. Every year around August it starts blooming and I know that Chris and Kylie’s wedding anniversary is coming up. Every year with their anniversary, I send a photo to my friend to update her on how the orchid is doing! This year will be no different!
I think for their 10th wedding anniversary – I might give the orchid back to them because orchids can easily grow up to 22 years! In the Singapore Botanic Garden, a cluster of tiger orchids has been growing in the same spot for the past 154 years. It’s believed to be one of the oldest orchid plants in the world. But, let’s just get to 10 years…
Error, group does not exist! Check your syntax! (ID: 20)
Hooked for Life
After my first white phalaenopsis, I became like a little child in a candy store – I needed to have every colour orchid I could find. I would walk into every random Woolworths – just to see what colour orchids they had! Over the past six years, I have collected a variety of colours in phalaenopsis orchids of which only one has died. Caring for them became my hobby and I thought I should share some of my tips with you.
I do not pretend to be a super horticultural guru – but I can help you save your dehydrated orchid – and with a little bit of love and care, they will flower again, and again, and again.
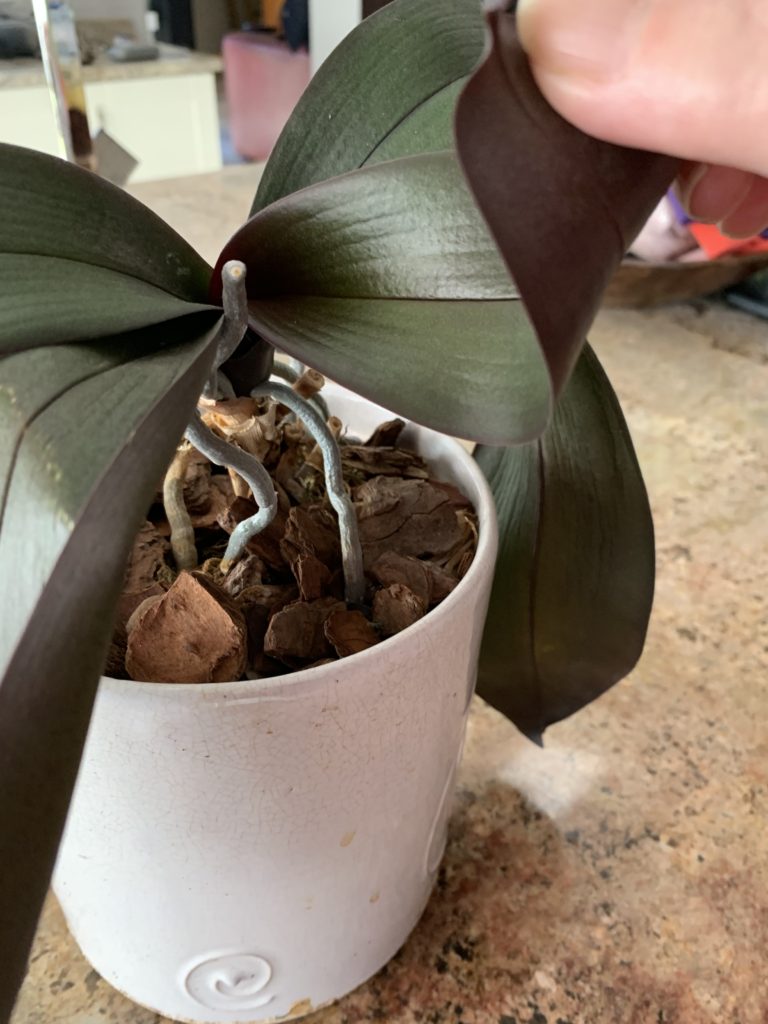
A big warning sign of dehydration is that the leaves are droopy and shrivelled and can bend upwards. Phalaenopsis leaves should be quite firm – and you shouldn’t be able to bend them. White-grey roots (it’s the first sign that your orchid needs water, and it can be used as a signal to determine whether your orchid needs watering) Wrinkled roots? Time to take action!
Get Started
Firstly, unpot the orchid and remove as much mulch or pot medium as you can. If there is a root ball – get rid of it!
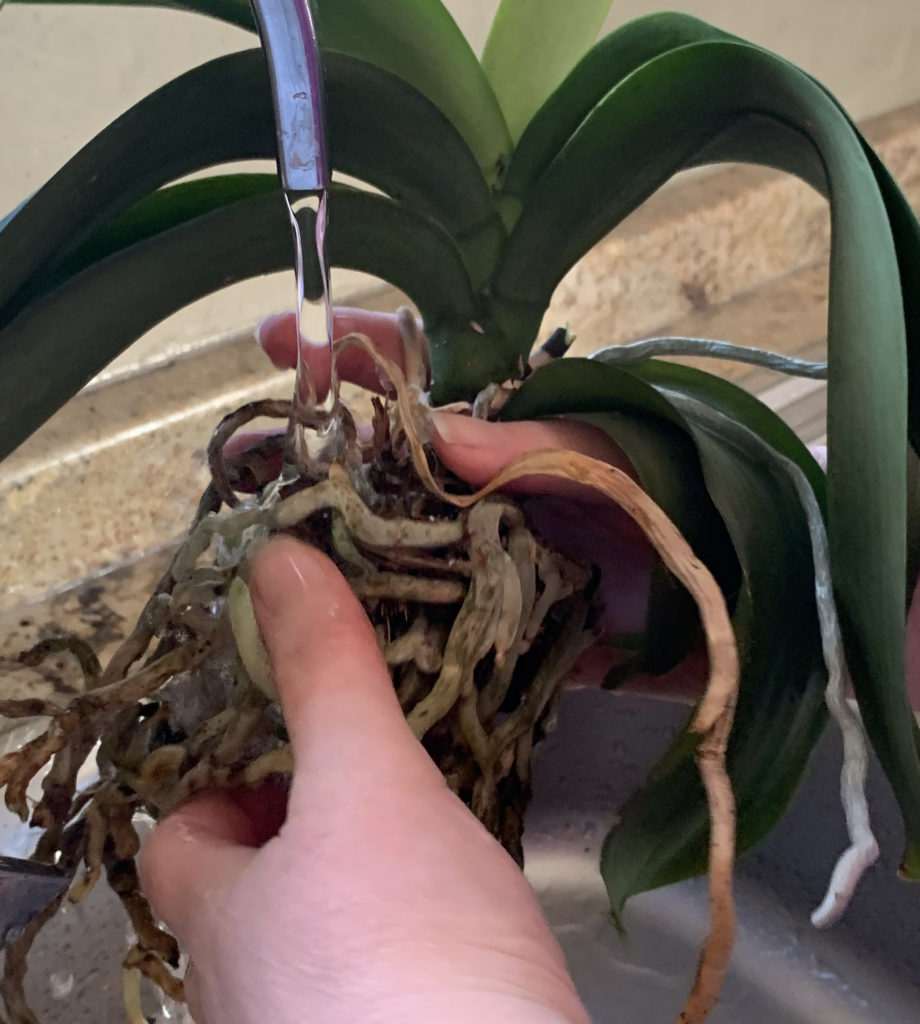
Take your plant to the basin and rinse the root system well. Doing this will hydrate the roots again. White or whitish-green roots are a good sign. Those are the viable roots you want to keep.
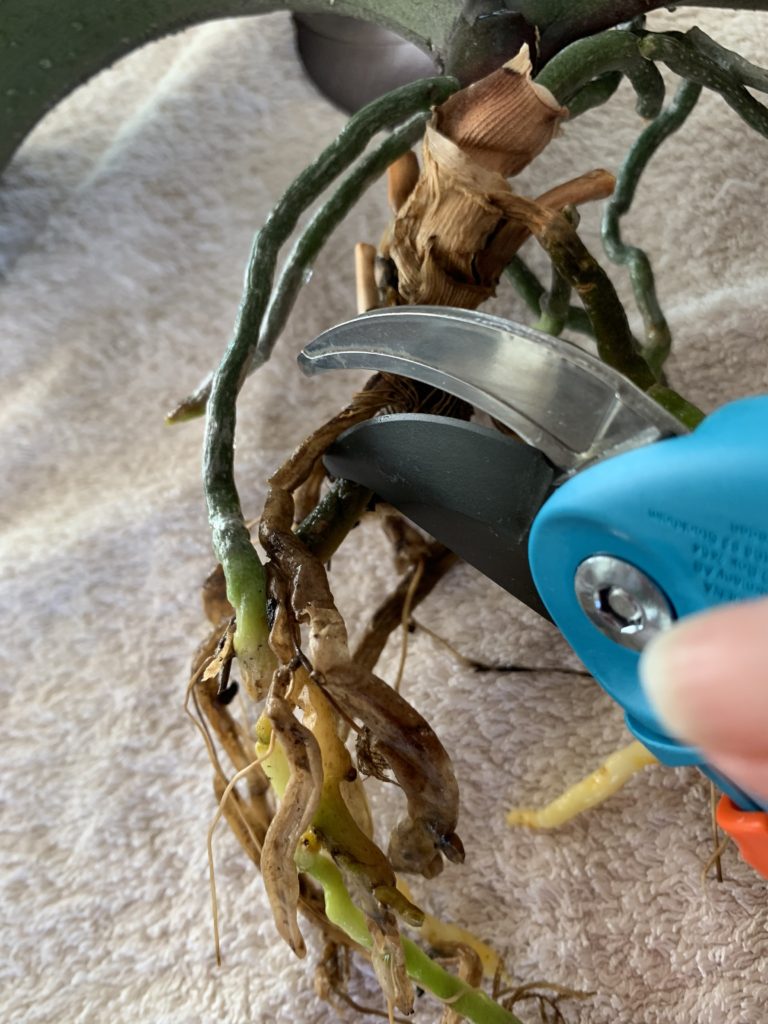
Disinfect your clippers with alcohol before you start clipping. Take your clippers and cut off any papery roots. While you are busy with the clippers, cut off any old flower stalks. Remember to clip just above the node – this way if there is any infection creeping in – the node will stop the infection from progressing.
If any of the leaves are damaged – cut those off also. A Clever trick is to cut the leaf in half – then when you get to the stalk – it’s easier to tear it off the stalk. If you leave old leaves around the stalk it could cause rotting – so try to remove as much of the damaged leaves as you can!
Phalaenopsis usually have a lot of aerial roots. Do not cut them off – and remember when you finally repot your orchid – not to cover the aerial roots in the mulch – they must stay outside!
Tea Time
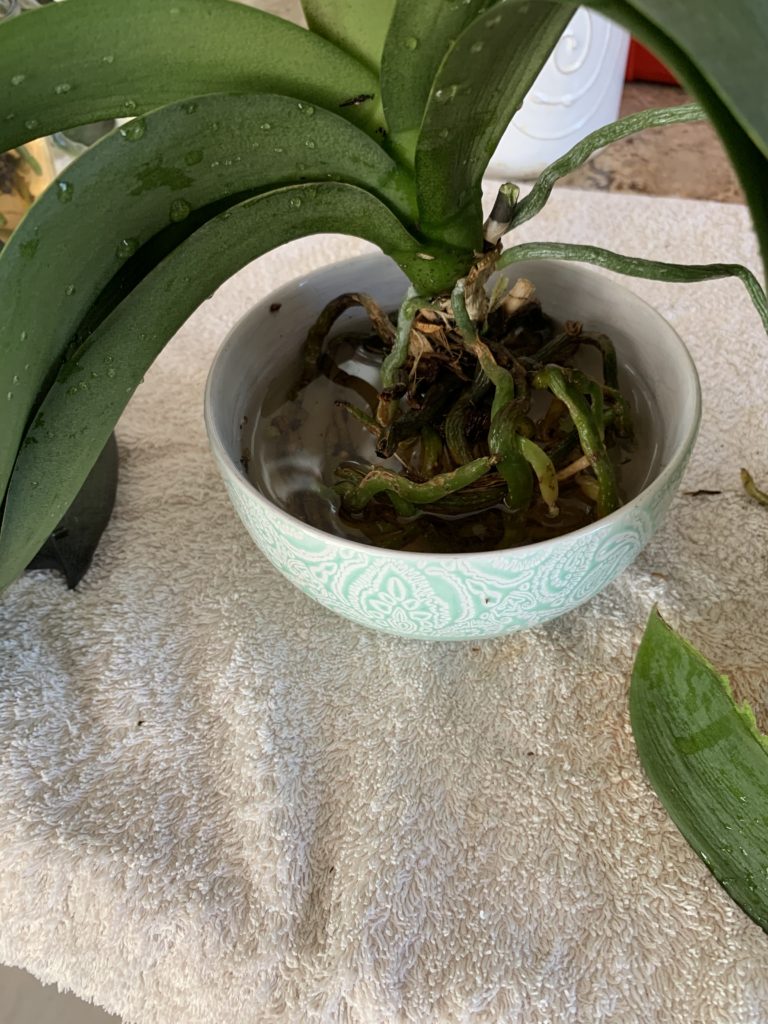
Now it’s time to quench its thirst with a good cup of black tea! Place an ordinary teabag in a jar with filtered water and let it soak for about 5 minutes. It doesn’t have to be a super-strong solution. Place your orchid’s roots in the teabag solution and let it stay in the jar with tea water for the entire day. At night – remove your orchid from the tea water and let the roots dry outside the jar. The next morning place the orchid’s roots back in the jar with tea water. The tea water solution is rich in tannic acid – this sends a signal to the root system that it is time to grow.
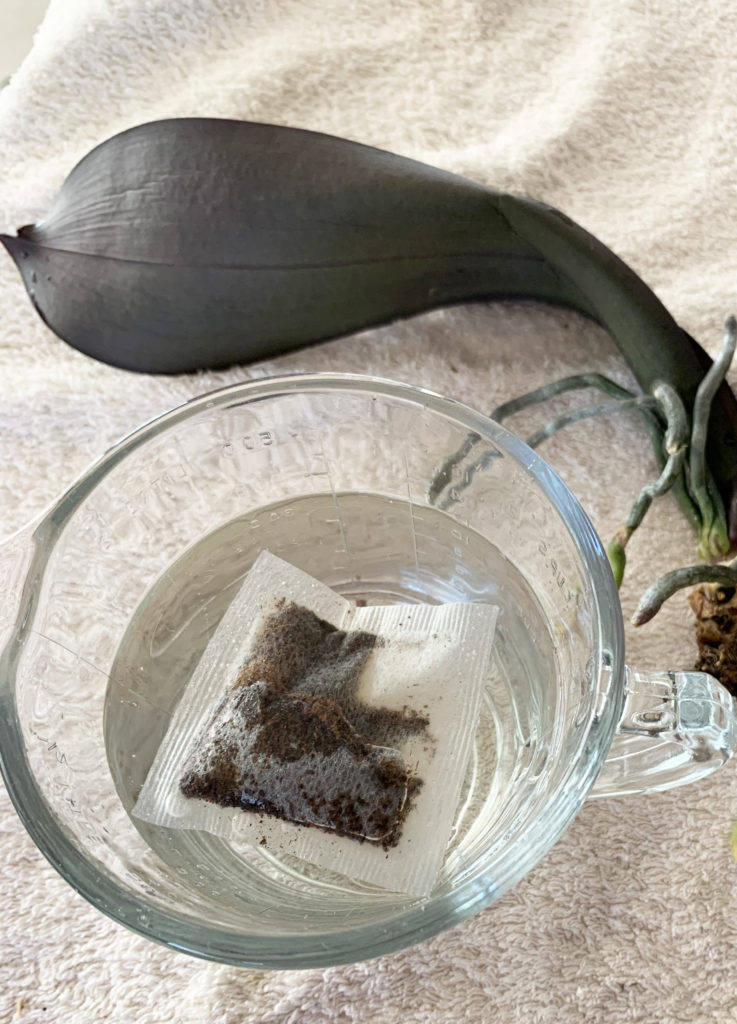
Sometimes if I see the need to do it more than a few days – I even do a water solution with one drop of nitrosol in the water instead of the tea. That’s my personal recipe. Few days tea, few days nitrosol.
Stick with this process of repeating wet and dry cycles for a few days, maybe a week or so – and you will see a huge difference in the leaves and roots. The roots turn from white to green and the leaves will become stiff.
Error, group does not exist! Check your syntax! (ID: 20)
Now you can re-pot your orchid using orchid mix, bark or my favourite – hazelnut shells. Do not use normal potting soil! In nature, most orchids grow in the air – not in soil – airflow is important to their roots. It prevents root rot. That’s a topic for another day. Just remember to not leave the roots in water.
Watering Care
To water my orchids – I take them to the basin and let the water run over the mulch slowly for a minute or so and I make sure the water doesn’t touch the flowers and leaves! I then leave it on the basin for a few minutes to drain properly – and then return it to its vase. If the leaves become dusty, I give them a quick wipe with a moist cloth.
Orchids love bright spaces, but not direct sunlight – had to learn that one the hard way! Sunlight damages the leaves and leaves horrible burn marks on them. You eventually will need to cut those leaves off.
Error, group does not exist! Check your syntax! (ID: 20)
When the flowers start to wilt from your new orchid after a month or three, it doesn’t mean you must give up on your orchid! Phalaenopsis do go through a resting period after blooming where they become dormant and it seems like the leaves go dull and flatten out. But there is still a lot of life in your orchid and if you care for it during this dormant time, keep it hydrated, it will reward you with even more blooms the second time around.
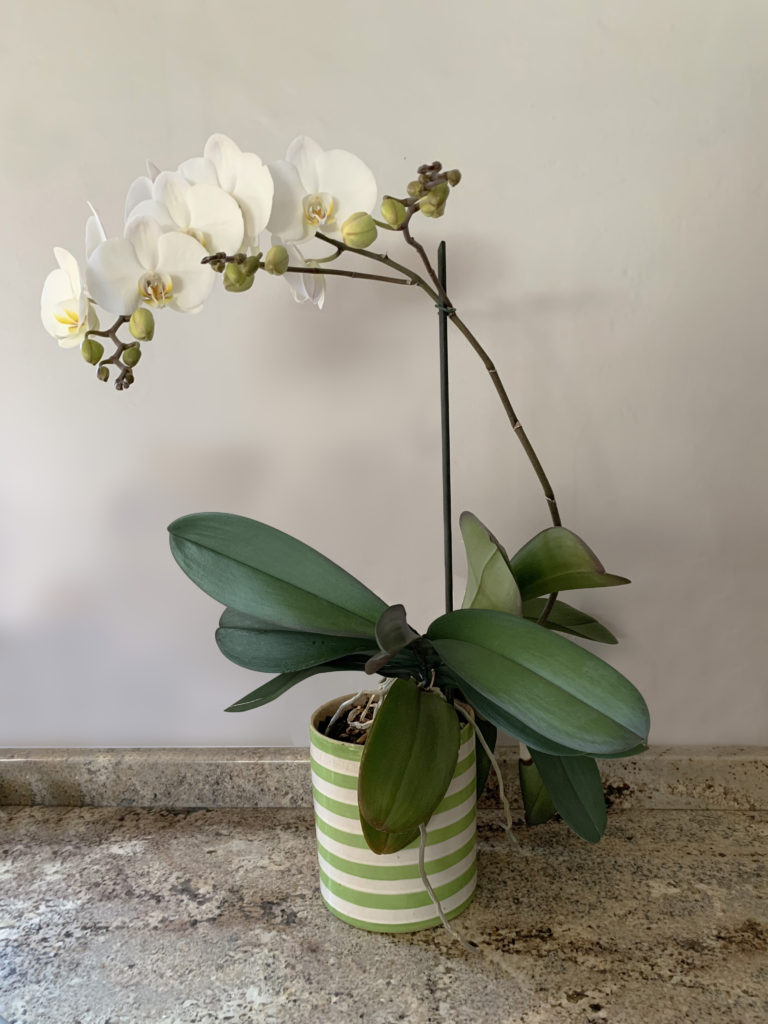
My first orchid from Kylie & Chris’s wedding six years ago:
Find more gardening advice here.
Error, group does not exist! Check your syntax! (ID: 20)


