1


5


Plants to Aid Sleep
The race to the end of the year is officially on. That also means that many of us are burning out and need as much rest as we can get to function optimally. It's a known fact that we must take care of ourselves before we can take care of others successfully.
Sleep is the number one gift you can give yourself. No series binge-watching or going out with friends and family beats the benefits of sleep. Around 30 per cent of adults have reported that they sleep less than seven hours a day – which is the bare minimum for our health and wellness. Working adults need up to nine hours of sleep a day. Between 10 and 30 per cent of adults suffer from insomnia.
Sandy Roberts, from the Margaret Roberts Herbal Centre, shares her expertise on how to incorporate plants into your sleeping routine. Specific plants in your sleep routine (and even used as décor in your bedroom) can be very beneficial and aid your quality of sleep for the better.
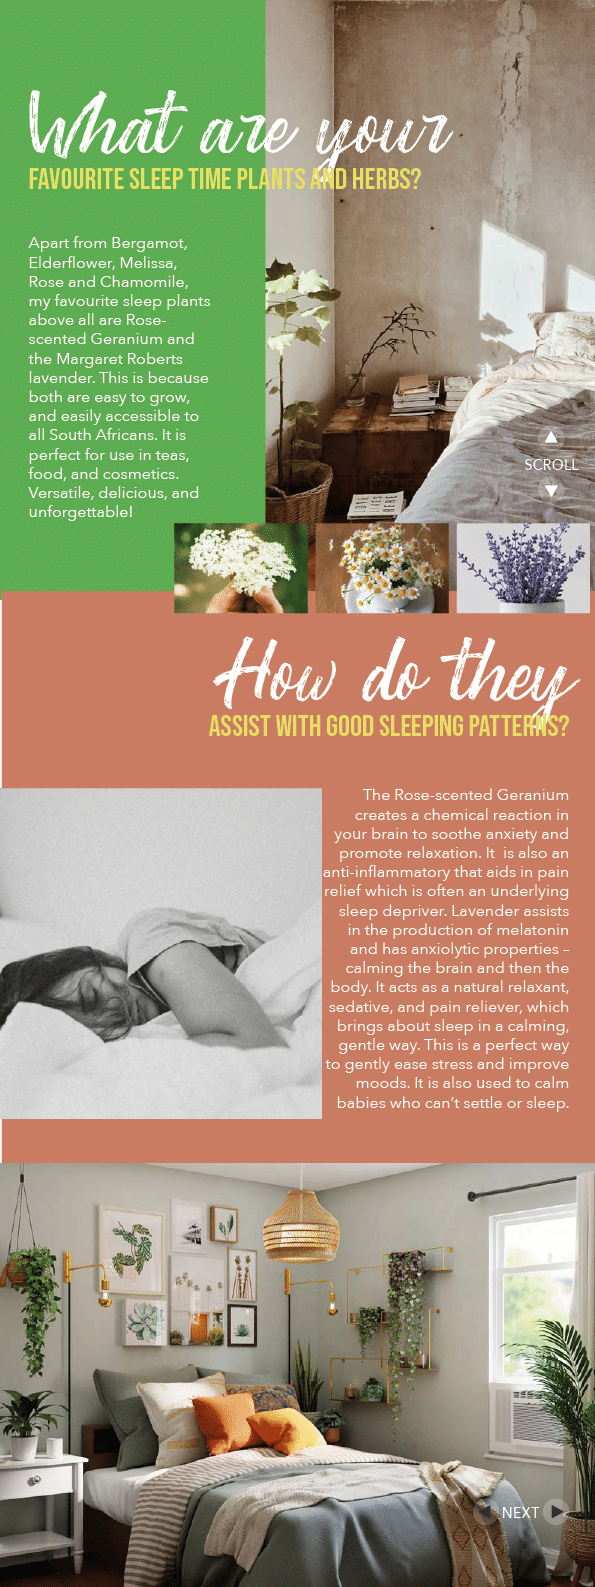
What are your favourite sleep time plants and herbs?
Apart from Bergamot, Elderflower, melissa, rose and Chamomile, my favourite sleep plants above all are Rose-scented Geranium and the Margaret Roberts lavender. This is because both are easy to grow, and easily accessible to all South Africans. It is perfect for use in teas, food, and cosmetics. Versatile, delicious, and unforgettable!
How do they assist with good sleeping patterns?
The Rose-scented Geranium creates a chemical reaction in your brain to soothe anxiety and promote relaxation. It is also an anti-inflammatory that aids in pain relief which is often an underlying sleep depriver. Lavender assists in the production of melatonin and has anxiolytic properties – calming the brain and then the body. It acts as a natural relaxant, sedative, and pain reliever, which brings about sleep in a calming, gentle way. This is a perfect way to gently ease stress and improve moods. It is also used to calm babies who can’t settle or sleep.
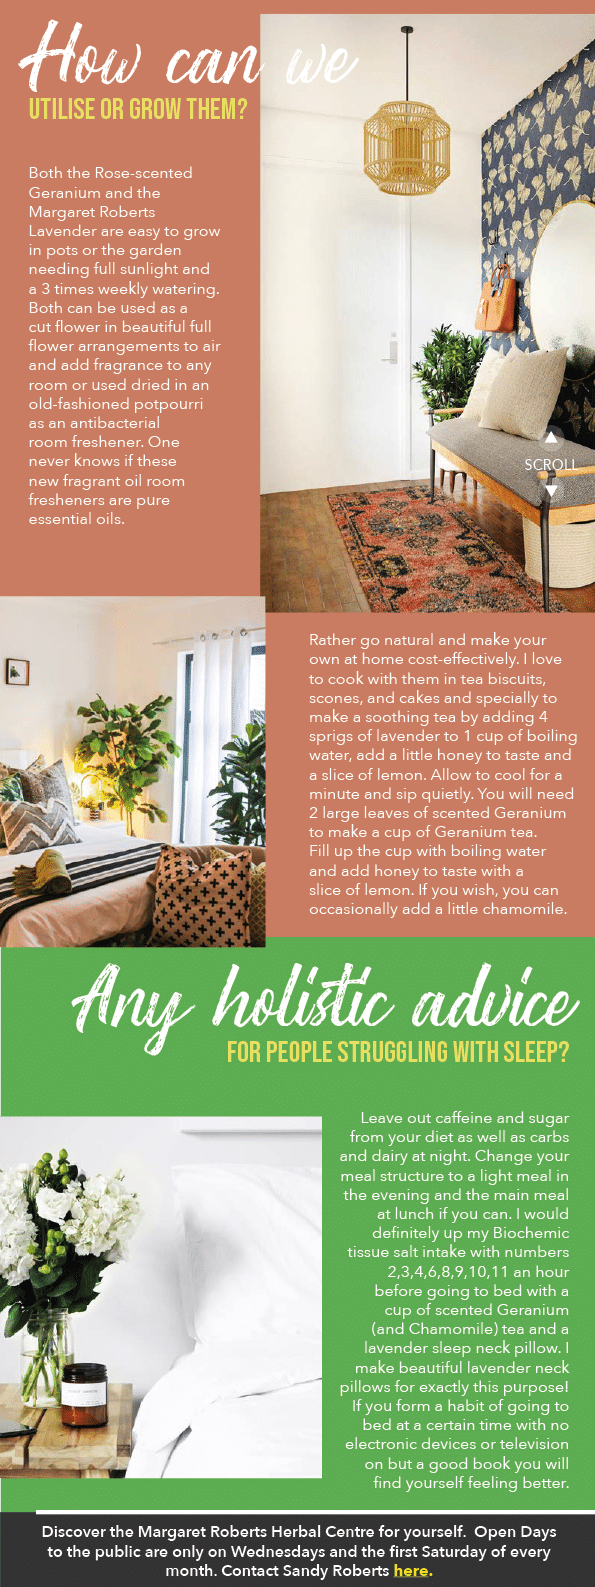
How can we utilise or grow them?
Both the Rose-scented Geranium and the Margaret Roberts Lavender are easy to grow in pots or the garden needing full sunlight and a 3 times weekly watering. Both can be used as a cut flower in beautiful full flower arrangements to air and add fragrance to any room or used dried in an old-fashioned potpourri as an antibacterial room freshener. One never knows if these new fragrant oil room fresheners are pure essential oils. Rather go natural and make your own at home cost-effectively. I love to cook with them in tea biscuits, scones, and cakes and specially to make a soothing tea by adding 4 sprigs of lavender to 1 cup of boiling water, add a little honey to taste and a slice of lemon. Allow to cool for a minute and sip quietly. You will need 2 large leaves of scented Geranium to make a cup of Geranium tea. Fill up the cup with boiling water and add honey to taste with a slice of lemon. If you wish, you can occasionally add a little chamomile.
Any holistic advice for people struggling with sleep?
Leave out caffeine and sugar from your diet as well as carbs and dairy at night. Change your meal structure to a light meal in the evening and the main meal at lunch if you can. I would definitely up my Biochemic tissue salt intake with numbers 2,3,4,6,8,9,10,11 an hour before going to bed with a cup of scented Geranium (and Chamomile) tea and a lavender sleep neck pillow. I make beautiful lavender neck pillows for exactly this purpose! If you form a habit of going to bed at a certain time with no electronic devices or television on but a good book you will find yourself feeling better.
Discover the Margaret Roberts Herbal Centre for yourself. Open Days to the public are only on Wednesdays and the first Saturday of every month. Contact Sandy Roberts here.
8


Subscribe to our Magazine


9


13


14


Subscribe to our Magazine


15


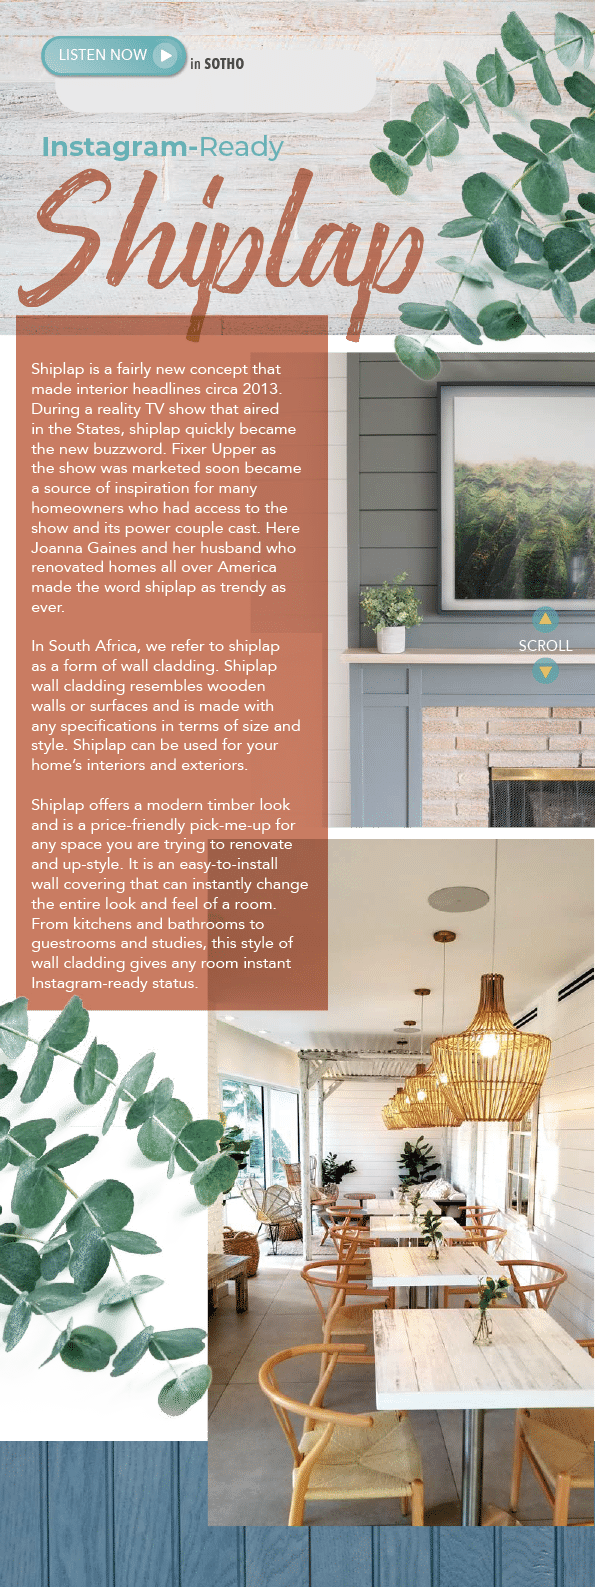
Instagram-Ready Shiplap
Shiplap is a fairly new concept that made interior headlines circa 2013. During a reality TV show that aired in the States, shiplap quickly became the new buzzword. Fixer Upper as the show was marketed soon became a source of inspiration for many homeowners who had access to the show and its power couple cast. Here Joanna Gaines and her husband who renovated homes all over America made the word shiplap as trendy as ever.
In South Africa, we refer to shiplap as a form of wall cladding. Shiplap wall cladding resembles wooden walls or surfaces and is made with any specifications in terms of size and style. Shiplap can be used for your home’s interiors and exteriors.
Shiplap offers a modern timber look and is a price-friendly pick-me-up for any space you are trying to renovate and up-style. It is an easy-to-install wall covering that can instantly change the entire look and feel of a room. From kitchens and bathrooms to guestrooms and studies, this style of wall cladding giving any room instant Instagram-ready status.
Don’t Jump Ship
Shiplap is very easy to install and you do not require a professional to do it for you. The joints mimic those of tongue and groove joints that make them easy to fit. You also get peel and stick options, making the application even easier. It is also lightweight and offers a wide variety of options from recreating wood to concrete, you can easily recreate any expensive wall coverings.
Shiplap is also low maintenance and makes cleaning a breeze. Its convenience is what makes this trend a favourite amongst many homeowners the world over. These shiplap wall coverings are also durable and can take a few good knocks from the household over time. They also essentially protect your walling. If your house ever goes on sale, it can also be easily removed by new owners who envision something else.
Ideas and Inspirations
Shiplap techniques have been used for thousands of years. It is its introduction to interiors that is a fairly new trend. According to The Finished Space “The earliest version of shiplap was found over 1,700 years ago on Viking ships! An ancient boat was found using overlapping planks around the outside of the boat to keep the water out. The technique used on this ship was called lapstrakes, but it was a precursor to what would become known as shiplap. The production of watertight, overlapping planks evolved to produce shiplap (i.e., boards that overlap at rabbeted edges to create a completely watertight fit)”.
Shiplap was successful in keeping the water out on ships and soon sheds and farmhouses were introduced to it. From there the trend moved to building's exteriors and more recently it has made its way indoors.
Bathrooms: Bathrooms, both large and small look attractive with shiplap wall coverings. Wooden styles of shiplap can easily give bathrooms a chic, cottage feel with a touch of country. In bathrooms, shiplap does wonders as an accent wall.
Bedrooms: Create a beach-inspired bohemian look in your bedroom with shiplap cladding that ignites the inner shipmate in you. With a variety of colours available, choose soft aqua-inspired tones. From white and ivory to sky and moody blues, you can create a desert island-inspired oasis away from the hustle and bustle of everyday distractions.
Kitchens: Shiplap cladding in wooden or concrete type textures are a fresh look for modern kitchens. Cladding in your kitchen can be used as your oven backsplash, or under counters to create stylish surfaces. A shiplap accent wall also works great in a kitchen and is also a trendy substitute for subway tiles.
18


Subscribe to our Magazine


19


20


Subscribe to our Magazine


25


26


Subscribe to our Magazine

Introducing a New Pet to your Home
You’ve done your research and found your perfect new furry family member. Now it’s time to get your home ready for their arrival. Here are some things you can do to make the introduction easier.
Prepare
Adding a new pet to your household is exciting but the reality is, pets take commitment and work. Before your pet comes home, discuss and agree on who will be responsible for regular tasks such as feeding, picking up poop/litterbox cleaning and baths. Having a clear plan on responsibilities will solve any arguments on whose “turn” it is later.
Create a safe, quiet space for your new pet with their bed, food and water and litterbox for cats. This will help them stay calm and not be overwhelmed by a huge new space. Clear the room of any cables, potential spots they could get stuck if trying to hide and any toxic plants. For cats, prepare safe hiding spaces and places to climb up on so they can get away if needed.
Make a note of your preferred local vet, emergency veterinary hospital and puppy schools so you are ready to take your pet for any check-ups, microchipping, training etc. Schedule an appointment with the vet for a few weeks' time so you can do a full health check early on.
Exploration
If this is the only pet in the house, once they are calm and comfortable, allow them to explore more of the house, this should be after about a week. For some dogs, it may be best to be given a guided tour while on a leash so you can control and redirect any inappropriate behaviour.
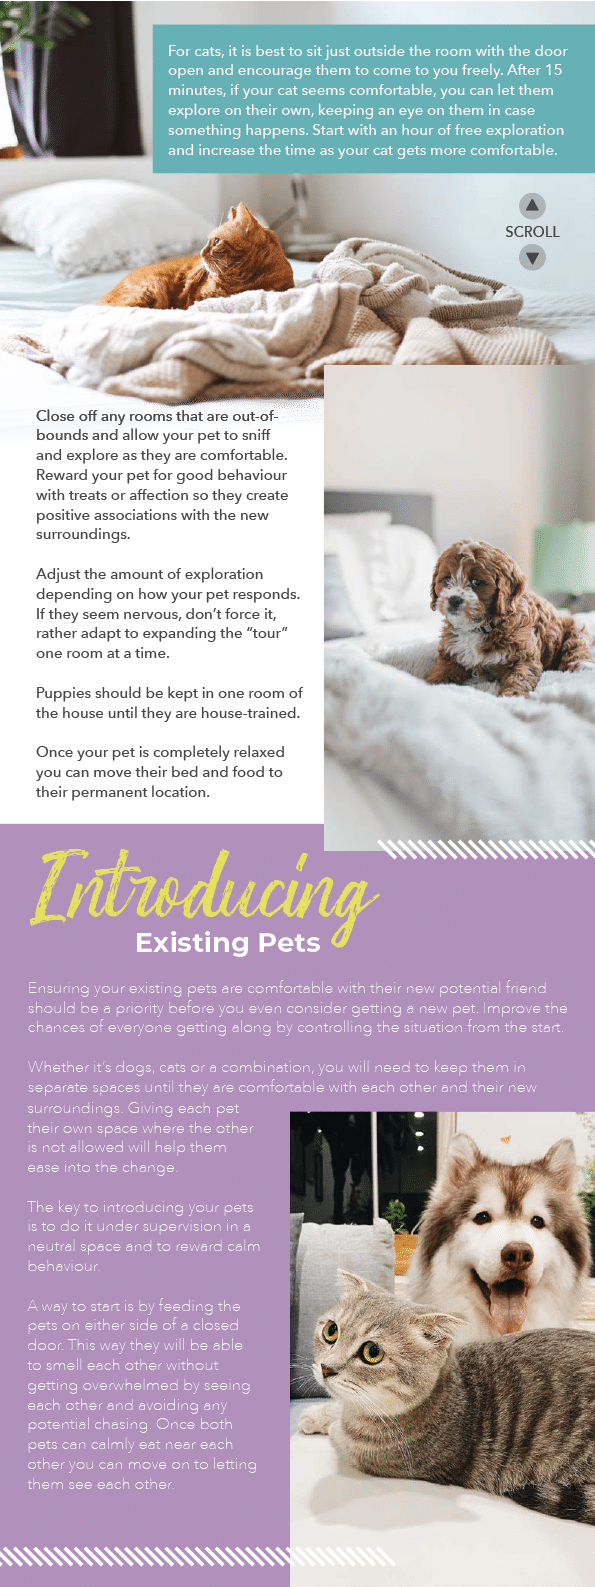
For cats, it is best to sit just outside the room with the door open and encourage them to come to you freely. After 15 minutes, if your cat seems comfortable, you can let them explore on their own, keeping an eye on them in case something happens. Start with an hour of free exploration and increase the time as your cat gets more comfortable.
Close off any rooms that are out-of-bounds and allow your pet to sniff and explore as they are comfortable. Reward your pet for good behaviour with treats or affection so they create positive associations with the new surroundings.
Adjust the amount of exploration depending on how your pet responds. If they seem nervous, don’t force it, rather adapt to expanding the “tour” one room at a time.
Puppies should be kept in one room of the house until they are house-trained.
Once your pet is completely relaxed you can move their bed and food to their permanent location.
Introducing Existing Pets
Ensuring your existing pets are comfortable with their new potential friend should be a priority before you even consider getting a new pet. Improve the chances of everyone getting along by controlling the situation from the start.
Whether it’s dogs, cats or a combination, you will need to keep them in separate spaces until they are comfortable with each other and their new surroundings. Giving each pet their own space where the other is not allowed will help them ease into the change.
The key to introducing your pets is to do it under supervision in a neutral space and to reward calm behaviour.
A way to start is by feeding the pets on either side of a closed door. This way they will be able to smell each other without getting overwhelmed by seeing each other and avoiding any potential chasing. Once both pets can calmly eat near each other you can move on to letting them see each other.
The safest option for face-to-face interaction is to do it through a gate or sliding door where both pets can see each other without the risk of a physical altercation. Distract each pet with their favourite toy or treat so they learn that it’s better to ignore each other. Keep the interaction short, calm, and controlled.
Once both pets are calm or if you think both pets can handle it, you can remove the barrier and have the pets meet in a neutral space. Keep any dogs on a loose leash so you can control any over-excited or aggressive behaviour. This is especially important when introducing cats and dogs, as a dog’s instinct will be to chase the cat should they decide to run away.
Watch both pets body language, if there are any arched backs, hissing, staring or stiff bodies, separate the pets and go back to the previous step. The goal is to keep your pets safe and not force interactions.
If your pets are calm, give them a treat and allow them to get a bit closer (still with loose leashes). If your dog is trained, have them sit or lie down and allow your cat to move freely around the room. Once again, reward your pets for staying calm and ignoring each other. Allow the interaction to last a few minutes and increase the time each day until they can live happily together.
Always consult your vet when introducing a new pet to your home. They will be best equipped to give advice on dietary changes, behavioural issues and how they think your pet will respond to environmental changes.
29


30


Subscribe to our Magazine


31


32


Subscribe to our Magazine

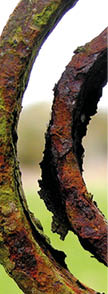
RUST Assured
There are ways to keep your metal homeware and tools clear of rust!
Don’t we all just hate the orange-brown rust surprise we get when taking an item out after putting it safely away for the next use? A little bit of rust doesn't necessarily mean it is the end of the road for that item. You will be surprised at how many ways there are to remove that pesky rust from metal surfaces.
Home Recipes to Remove Rust
What do lemons, vinegar, potatoes, and baking soda have in common? They’re all excellent natural solutions for removing rust.
Let’s look at a few of these commercially available removable solutions and recipes:
1. Rust Converter
Rust converter is a product that prevents further corrosion to an item by covering rust. You will basically treat the rusty item by applying a thin layer of converter with a roller or brush to the item.
Pros: It is a quick solution to stop further corrosion.
Cons: It is not as effective in removing rust completely. You are simply stopping the process of further corrosion with this method.
2. Chemical Solutions
Chemical solutions are powerful and effective. They work wonders on smaller items which you can soak in the solution for a couple of hours. You can also pour the solution over the item if soaking is not an option. Once the solution has worked, you rub the rust off with a cloth.
Pros: It works!
Cons: This method is quite messy and can take long to set. You will also have to use gloves and wear a mask and possibly even protective glasses for this method.
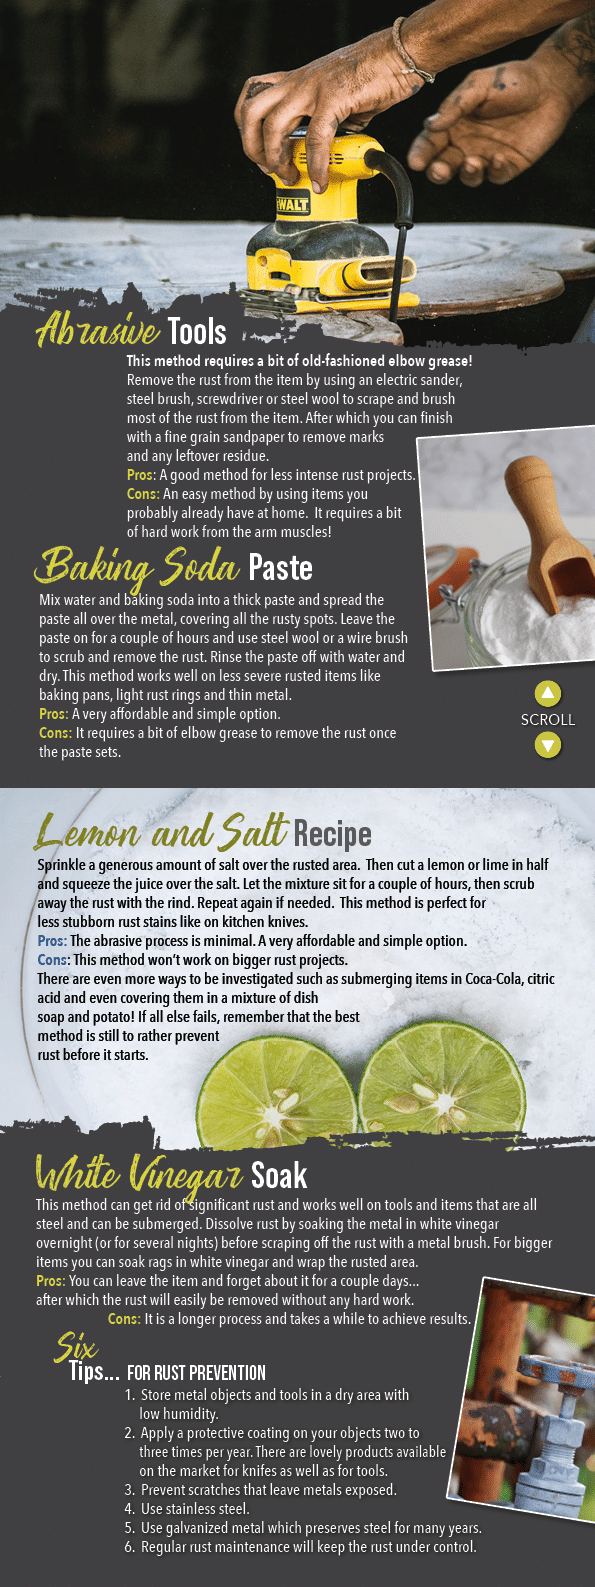
3. Abrasive Tools
This method requires a bit of old-fashioned elbow grease!
Remove the rust from the item by using an electric sander, steel brush, screwdriver or steel wool to scrape and brush most of the rust from the item. After which you can finish with a fine grain sandpaper to remove marks and any leftover residue.
Pros: A good method for less intense rust projects.
Cons: An easy method by using items you probably already have at home. It requires a bit of hard work from the arm muscles!
4. White Vinegar Soak
This method can get rid of significant rust and works well on tools and items that are all steel and can be submerged. Dissolve rust by soaking the metal in white vinegar overnight (or for several nights) before scraping off the rust with a metal brush. For bigger items you can soak rags in white vinegar and wrap the rusted area.
Pros: You can leave the item and forget about it for a couple days...after which the rust will easily be removed without any hard work.
Cons: It is a longer process and takes a while to achieve results.
5. Baking Soda Paste
Mix water and baking soda into a thick paste and spread the paste all over the metal, covering all the rusty spots. Leave the paste on for a couple of hours and use steel wool or a wire brush to scrub and remove the rust. Rinse the paste off with water and dry. This method works well on less severe rusted items like baking pans, light rust rings and thin metal.
Pros: A very affordable and simple option.
Cons: It requires a bit of elbow grease to remove the rust once the paste sets.
6. Lemon and Salt Recipe
Sprinkle a generous amount of salt over the rusted area. Then cut a lemon or lime in half and squeeze the juice over the salt. Let the mixture sit for a couple of hours, then scrub away the rust with the rind. Repeat again if needed. This method is perfect for less stubborn rust stains like on kitchen knives.
Pros: The abrasive process is minimal. A very affordable and simple option.
Cons: This method won’t work on bigger rust projects.
There are even more ways to be investigated such as submerging items in Coca-Cola, citric acid and even covering them in a mixture of dish soap and potato! If all else fails, remember that the best method is still to rather prevent rust before it starts. Here are 6 tips for rust prevention:
Six Tips for Rust Prevention
1.1.Store metal objects and tools in a dry area with low humidity.
2.2.Apply a protective coating on your objects two to three times per year. There are lovely products available on the market for knifes as well as for tools.
3.3.Prevent scratches that leave metals exposed.
4.4.Use stainless steel.
5.5.Use galvanized metal which preserves steel for many years.
6.6.Regular rust maintenance will keep the rust under control.
34


Subscribe to our Magazine


35


36


Subscribe to our Magazine


37


Travel to Tropical Mozambique
You may not know this, but we have a tropical paradise right in our backyard. As you exit Mpumalanga and make your way up to Mozambique’s province of Maputo, you can see the vegetation change. The landscape changes significantly with rolling hills and palm trees that become more evident the further north you travel.
Mozambique is a fairly large country with an awful lot of outdoorsy things to do. Diving, fishing and top class R and R is what you can expect to experience in Moz. Because of the large distances involved to travel to numerous provinces in Mozambique, this article will focus on three provinces fairly close to South Africa.
Maputo
We start our journey in the bustling city of Maputo, based in the Maputo province. It is a beautiful city with old buildings that will make the retrophiliac in you come alive. The strong Portuguese influence, even post-war, has left an array of gorgeous European style buildings that will leave you walking the streets of the city all day. Maputo is relatively safe. Police patrol most of the popular areas, but the general rules apply. Don’t show off any expensive tech or cameras. Another important thing to be reminded of straight away is that it is very offensive to take photos of locals – especially law enforcement. Get to know some basic Portuguese and you will be appreciated for it if you do happen to encounter a law enforcement official.
Mozambicans are proud people who have a deep respect for their country and people. They have been through an awful lot and till today many poor are still suffering the consequences. Hotels are your place of choice to stay when you are in the city. Easy access to wifi and international amenities – should you wish to have them. Staying close to the centre is a good option especially if you are going on an architectural joyride - this is your best bet.
On my last visit to Maputo I was lucky enough to stay at the Pestana Rovuma. A 4-star hotel only a two-minute walk from Catedral de Nossa Senhora da Imaculada Conceição (Cathedral of Our Lady of the Immaculate Conception). This art deco church is one architectural dream not to miss. Try and catch it open to sit down inside for a few quiet moments. The Polana Serena is also a must-see. The hotel is beautiful with views for days. Have a quick lunch but be prepared to pay in US Dollars. The food is as fancy as the prices suggest. Use the opportunity to take many beautiful photos here.
Besides a large variety of international hotels, restaurants are also easy to find all along the coastline of Maputo. A family favourite and regular visit is Costa do Sol. Their food has been consistent since we started visiting in the mid-90s. Don’t miss this gem. And although many may argue that it is here where you get the best peri-peri sauce – I beg to differ. This is what leads us to another favourite spot in Xai Xai.
As you leave the city behind, the landscape quickly suggests that you are heading to smaller towns and quieter beaches.
Gaza
Xai Xai is in the province of Gaza. This bustling town alongside the Limpopo River is the capital of Gaza Province and is situated 200 kilometres north of Maputo. It is a relatively large province known for its beaches and wildlife reserves if you travel more inland. The next stop brings you down a crammed, bushy dirt road, over a few dunes and into – the place of the rising sun. Pun intended. For the best sunrises and sunsets, Nascer do Sol is where you will want to be. The name means the birth of the sun in Portuguese.
Their beach (Praia de Chizavane) is quiet and a silent refuge from the usual busy beaches we are used to in South Africa. The lodge is equipped with self-catering accommodation paired with a family restaurant to serve everyone, including the vegetarians. Their seafood platters are known well by tourists, and so is their iconic peri-peri sauce. Stop by their little convenience shop, Coco Loco, to pick up a few bottles. It is the best you will ever taste. Here you can also find touristy buys sourced and made by locals in the near vicinity.
The lodge has a stunning pool area. The sea is safe to swim in, but beginners beware. These waters are not manned by lifeguards and with many rocks and currents, your best bet is to stay in the shallows and swim out during low tide. Watch this video to see Nascer do Sol up close and personal from the Africa Travel Channel.
Xai Xai also recently finished their international airport, making it even easier to travel to. Now you can skip Maputo altogether and start your trip in Xai Xai. The lodge shares a long list of useful information to take careful consideration of before you travel to Mozambique. See the list here.
Inhambane
Inhambane is the next stop and the furthest I have been privileged enough to travel up to. Also, the most tropical of the previous two locations. Well-travelled tourists say the more north you travel, the more beautiful Mozambique becomes. This is all too true for Inhambane. Tofo beach is a popular destination nearby making it a true, tropical dream-destination.
Tofo is a quint beach town that lies on the Barra Beach peninsula in Inhambane Province and is an easy 22 kilometre drive from Inhambane city. This small fishing village is famed for its curved Tofo Beach (Praia do Tofo), coral reefs and friendly locals. It offers a unique Afro-Latin cultural experience boasting world-class diving, big waves and the chance to enjoy local seafood.
Turtle Cove is the perfect getaway for those seeking a mind and body retreat. They are known for their yoga retreats all within walking distance of the beach. This little resort is approximately 450 kilometres north of Maputo.
Inhambane also has a wide variety of places to wine and dine, although tourists enjoy the shack-style food possies the best. Nothing beats a beach braai with local Mozambican beer. Branko’s, Guju’s Beach Bar and Tofo Tofo are all great places to enjoy local food and generous portions.
Get your vaxx, pack your bags, and head to tropical Mozambique.
40


Subscribe to our Magazine


41


42


Subscribe to our Magazine


43


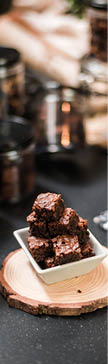
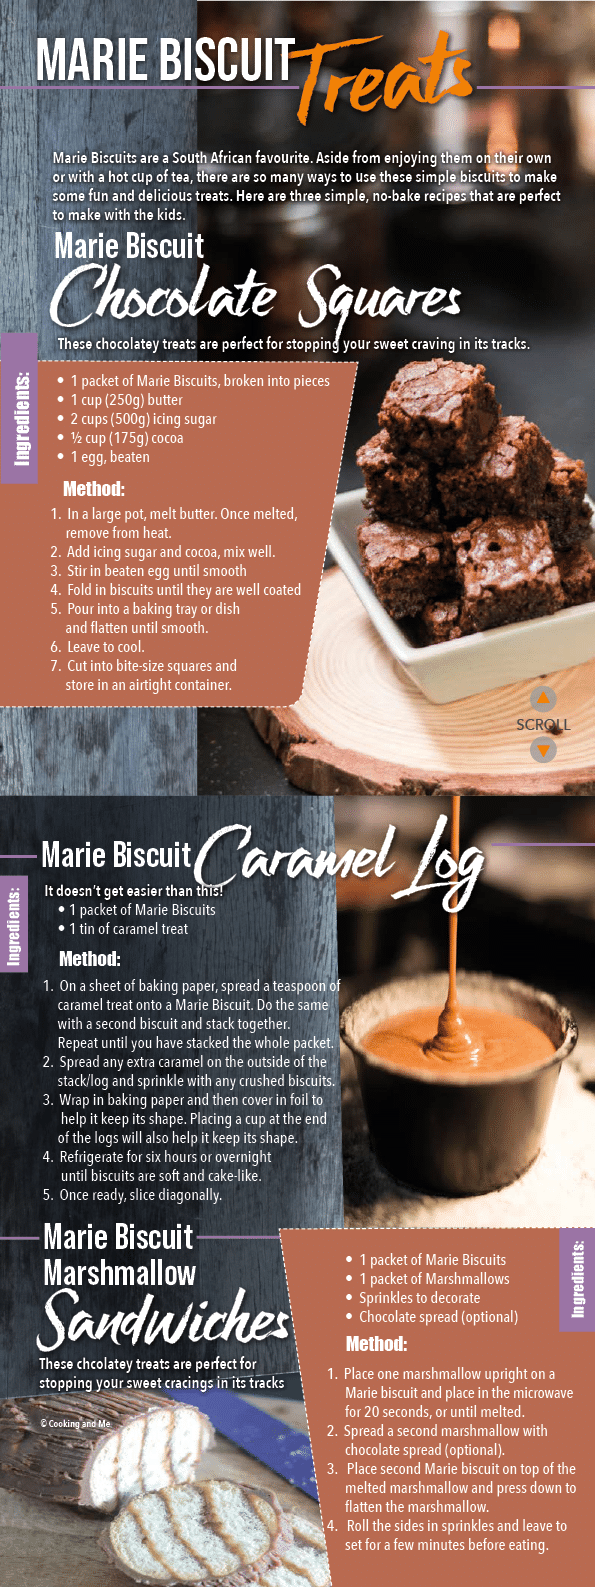
Marie Biscuit Treats
Marie Biscuits are a South African favourite. Aside from enjoying them on their own or with a hot cup of tea, there are so many ways to use these simple biscuits to make some fun and delicious treats. Here are three simple, no-bake recipes that are perfect to make with the kids.
Marie Biscuit Chocolate Squares
These chocolatey treats are perfect for stopping your sweet craving in its tracks.
Ingredients
1 packet of Marie Biscuits, broken into pieces
1 cup (250g) butter
2 cups (500g) icing sugar
½ cup (175g) cocoa
1 egg, beaten
Method
1.1.In a large pot, melt butter. Once melted, remove from heat.
2.2.Add icing sugar and cocoa, mix well.
3.3.Stir in beaten egg until smooth
4.4.Fold in biscuits until they are well coated
5.5.Pour into a baking tray or dish and flatten until smooth
6.6.Leave to cool
7.7.Cut into bite-size squares and store in an airtight container.
Caramel Marie Biscuit Log
It doesn’t get easier than this!
Ingredients
1 packet of Marie Biscuits
1 tin of caramel treat
Method
1.1.On a sheet of baking paper, spread a teaspoon of caramel treat onto a Marie Biscuit. Do the same with a second biscuit and stack together. Repeat until you have stacked the whole packet.
2.2.Spread any extra caramel on the outside of the stack/log and sprinkle with any crushed biscuits.
3.3.Wrap in baking paper and then cover in foil to help it keep its shape. Placing a cup at the end of the logs will also help it keep its shape.
4.4.Refrigerate for six hours or overnight until biscuits are soft and cake-like.
5.5.Once ready, slice diagonally.
Marie Biscuit Marshmallow Sandwiches
These chocolatey treats are perfect for stopping your sweet craving in its tracks.
Ingredients
1 packet of Marie Biscuits
1 packet of Marshmallows
Sprinkles to decorate
Chocolate spread (optional)
Method
1.1.Place one marshmallow upright on a Marie biscuit and place in the microwave for 20 seconds, or until melted.
2.2.Spread a second marshmallow with chocolate spread (optional).
3.3.Place second Marie biscuit on top of the melted marshmallow and press down to flatten the marshmallow.
4.4.Roll the sides in sprinkles and leave to set for a few minutes before eating.
44


Subscribe to our Magazine