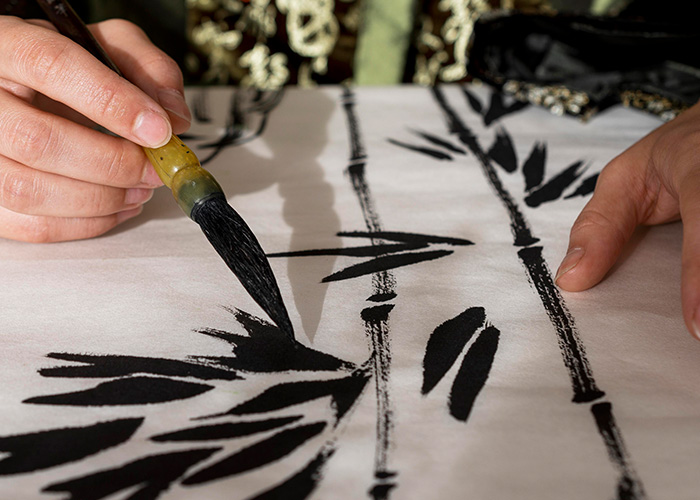
Upcycle fabric, one brush stroke and a time.
Still traumatized by the fabric painting craze of the early 2000’s?
Remember about 20 years ago when every single housewife and mom seemed to be into fabric painting? Fabric paint parties were the new Tupperware-parties and we had homes full of stiff, plasticky cushion covers and tablecloths, all stamped with potato stencils, and usually with one or more sunflower in the design.
We are here to tell you that things have changed, for the better.
Maybe it’s because of changing tastes, a more natural approach to life or simply better paint-compositing technology, but these days fabric paint looks completely different.
Gone are the days of yucky acrylics that peal off or stick to your skin. Now we have a huge blend of paints, methods and tricks up our sleeves, allowing even the most inexperienced DIY-er a chance at working some fabric paint magic.
A huge trend over the past few years, that is still going strong, is painting instead of re-upholstering your soft furnishings.
How does it work?
This cant be a rushed job. Its not difficult to do but you do have to prep to do it right.
Step 1
This is probably obvious but clean your piece of furniture. Vacuum, wipe, brush or dust your chair or sofa and ensure that the material is completely clean and free from dust and pet hair.
Step 2.
Tape off anything that should not be painted. This includes sofa feet, chair legs or other wood or metal trims. This part is important as any sloppiness here will detract from your final result and make it obvious that this was a DIY job.
Step 3.
Pick your paint. There are so many options available, from fabric dies to acrylic paint. If your furniture is light in colour, you can also dilute certain fabric paints with Fabric Softener for a softer touch. This is a crucial step, and we suggest you do the research. Depending on what piece of furniture and what base fabric you are painting you might go for an acrylic or an alcohol-based paint.
Comparing different fabric paints.
Step 4.
Now the fun starts! Grab your rollers or wide brushes and start painting. Sponge rollers work best and avoids a streaky texture, but if you want a different look, play around with paint brushes or even hand sponges.
Step 5.
Do a spot-check. Let the furniture dry completely, preferably overnight. Once all the paint is completely dry, you’ll, be able to see if there are any spots that need to be touched up.
Step 6
Once again let the paint dry completely. Now its time for the detail work of ensuring a good finish. Using fine-grit sandpaper, go over your furniture and ensure that any unwanted ridges or hard spots get sanded off.
Step 7
Set with heat. (If your paint requires this.) Using a clothes iron set to low or medium, (but never steam), go over the whole painted surface, this sets the paint and stops any transfer. If your paint does not need to be heat treated, look into some other form of topcoat or sealant.
Painting Upholstery (it’s easier than you think!)
We love this trend, and with a bit of prep we think you’ll love it too! Just do your research and remember – trust the process!


