5 Easy DIY Guest Room Art Ideas
Listen to this article in Afrikaans:
DIY Guest Room Art
Okay, you’ve got your living room perfectly decorated according to the latest trends. Your dining room looks ready to receive the coolest decorator influencer and your bedroom is an absolute sanctuary.
You’ve organised, curated and styled every possible nook and cranny in your living spaces. Even the guest loo looks gorgeous after its wallpaper makeover.
But now the in-laws are coming to stay and you haven’t even thought about decorating the guest room.
Sure, you have all the linen and furniture you could possibly need to make the guest room “mother-in-law” ready, but the wall décor just hasn’t been on your priority list.
She’s coming this weekend and you just know that permanently curled lip will get no rest if the room she’s staying in isn’t just so.
Stop stressing. We have 5 easy, affordable and, most importantly, fast art projects that you can finish and display before mother dearest has a chance to sneer.
Here’s a breakdown in order of how long they’ll take to finish.
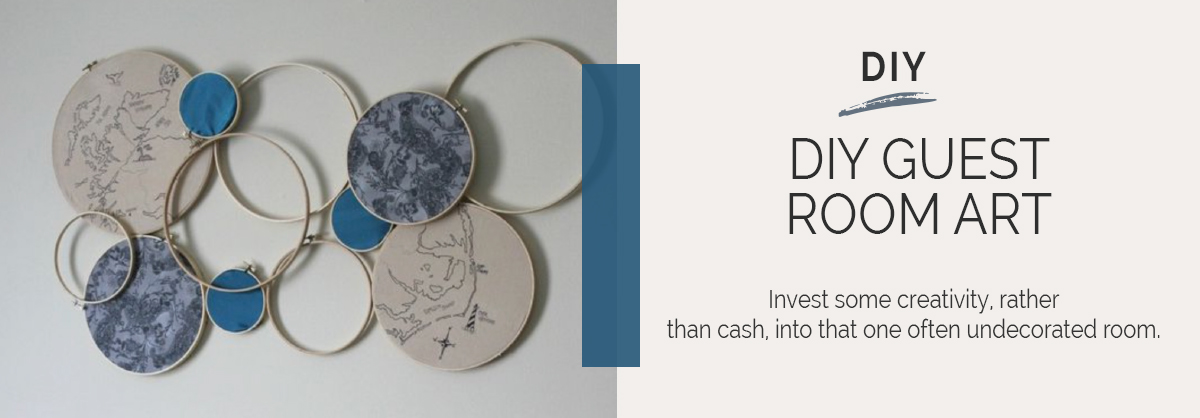
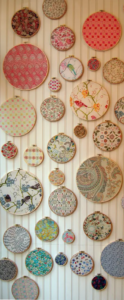
Embroidery Hoop Art
This is by far the fastest way to bring some colour and fascination to the walls. If you already have some embroidery hoops and spare fabric handy, you have nothing more to do but to stretch it out and hang it up.
Buzzfeed has even more fast and easy ideas for you to make use of embroidery hoops if that’s your vision for the room. (it’s not a bad vision, just a little, uh… niche).
Page Art
Listen, any bibliophile will be cringing here. And we get it, we do. But would you rather sacrifice an old textbook, or deal with a knowing look from your favourite lady? Yeah, we thought so.
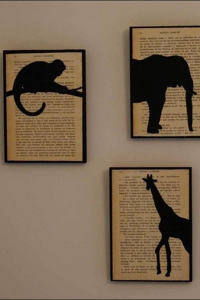
Grab a picture frame or canvas, pages from a book you don’t mind tearing up and black paint or craft ink.
This crafter went for an animal theme, but you can paint absolutely any silhouette you want.
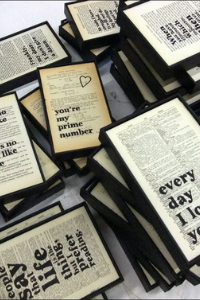
Consider a few pithy sayings or quotes to garner some subliminal good faith.
Dot smear art
All you need for this one is some kind of canvas, a selection of paints and a window squeegee. You could even just use a ruler if pushed.
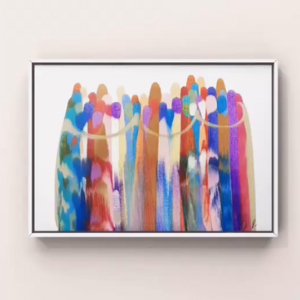
Drop a few dots in whichever arrangement makes your heart happy at the top of the canvas and smear the dots downwards with your squeegee.
What could be easier? The nice thing about this craft is that you can’t really mess it up. Whatever you end up with is what you were going for, obviously.
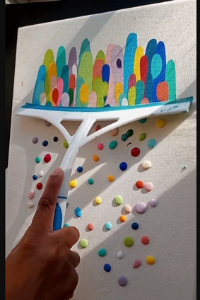
Here’s a cute video showing exactly how simple it is to get results like this:
Wood Photo Transfer
If you have a laser printer and some mod podge, you can turn any piece of wood into a gorgeous work of art. This also works on canvas.
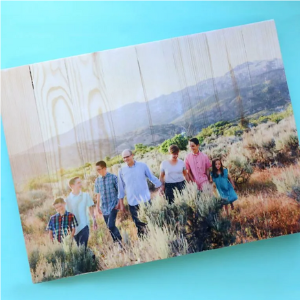
Adhere a picture of your family, a landscape or anything that has a chance of getting your MIL smiling (slim as it might be) to a wooden backing with mod podge and wait for it to dry. Thereafter, spray the image with some water (you could also use a sponge) and rub the backing paper off.
If you’ve done it right, you will now be left with a perfect mirror of the image you wish to display.
Here’s a comprehensive tutorial to make sure you get your chosen picture perfectly transferred. Just remember:
- Whichever image you choose will display in the reverse – so print accordingly;
- You need at least 8 hours of drying time before starting to rub away the image backing;
- This will not work with normal photographs or inkjet-printed images.
String art
This one takes a little longer, depending on the design you choose to use.
Draw your design on your chosen wooden backing with a pencil and get hammering! Keep in mind that every nail should be the same height when you’re done.
Next, string your wool or thread between the nails for a beautifully textured final product.
This complete beginners guide gives excellent tips and tricks to get you going. Here are a few printable patterns that even beginners will be able to finish quickly.
We love this idea from Arteirices Costurices.
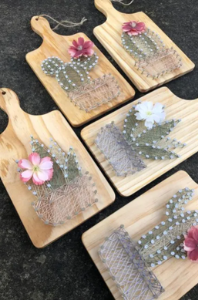
Go get crafting! And don’t be shy to let us know if the dragon lady loved these projects as much as we do by tagging us at #homemakers-sa.


