DIY with Elle: Mother’s Day 3-D DIY Flower Artwork
Nothing beats a homemade gift on Mother’s day! It used to be a tradition to make your gift from scratch and now that the shops may be off-limits, this great DIY flower artwork is just perfect! Elle Franco from DIY with Elle shows us how to make a fun Mother’s Day gift.
Watch the video on the 3-D DIY Flower Artwork or see our step by step how-to below.

List of Supplies and Materials
1 x Canvas
1 x Chalk paint in White (chalk paint colour available)
1 x Soft wax in Dark
1 X Spray paint in matte White
1 x Small paintbrush
1 x Sponge-roller and tray
1 x Medium heart plaque 160x180mm
1 x Clear adhesive that dries fast and clear
Artificial Flowers
Instructions:
Step 1:
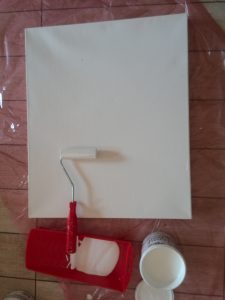
Lay your canvas on a small drop sheet or newspaper and decant some of the chalk paint into the small painting tray that comes with the sponge roller. There are many colours of chalk paint to choose from. For this project, white was selected for the effect but any colour can be used – just make sure the spray paint selected for the flowers match the chalk paint colour.
Using the roller, paint the entire canvas using the sponge roller and go in the direction of how you will end up hanging the finished artwork. Paint in a vertical direction if hanging the canvas vertical for example.
Step 2:
Once the first layers of paint have dried, dip a paintbrush in the same paint and try to add more heavy paint lines (either vertically or horizontally) adding more strokes of paint with the paintbrush. Try to get as many “texture/raised” paint strokes as you can. Let the paint dry.
Step 3:
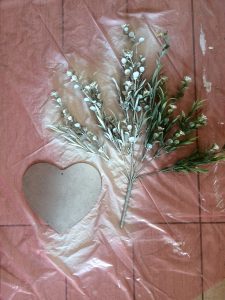
Next, lay your artificial flowers and heart plaque out on the drop sheet for spray painting. Make sure you are in a well-ventilated room or outside and wearing a protective mask over your mouth.
Shake your spray paint vigorously for a few minutes.
With light horizontal or vertical strokes, holding the spray paint can approximately 30cm away from the objects to be sprayed, and cover in layers until the artificial flowers and heart plaque are completely covered. Allow to dry. Ensure you turn the artificial flowers over and spray the other side and allow time for complete drying.
Step 4:
Take your now spray-painted artificial flowers and heart plaque back to your dried painted canvas. Position the artificial flowers in the centre and the heart over the artificial stem, looking like a potting plant for the flowers. Take the clear adhesive and glue (only the stem) into place carefully. Place something slightly heavier than the artificial flowers to hold in place until glue dries.
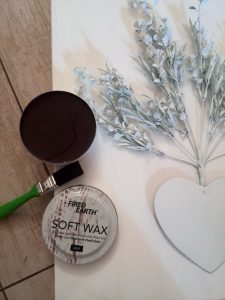
(If you are going to continue to step 6 and not stop at step 5 before you stick the flowers and heart on the canvas, take out the dark soft wax tin and a thin paint brush. Dab the paintbrush in the dark wax and go lightly in the same directional paint strokes as the chalk paint and “paint” the dark wax over the canvas and on the flowers. The dark wax highlights the paint lines and strokes. Then glue the flowers and heart in place and carry on with the dark wax on the flowers and heart.)

Step 5:
Using a paintbrush one last time, paint lightly over the heart plaque and artificial flowers with light paint strokes with the chalk paint. This is just to reinforce the chalk paint colour and texture over the entire DIY 3D art canvas. Allow to dry.
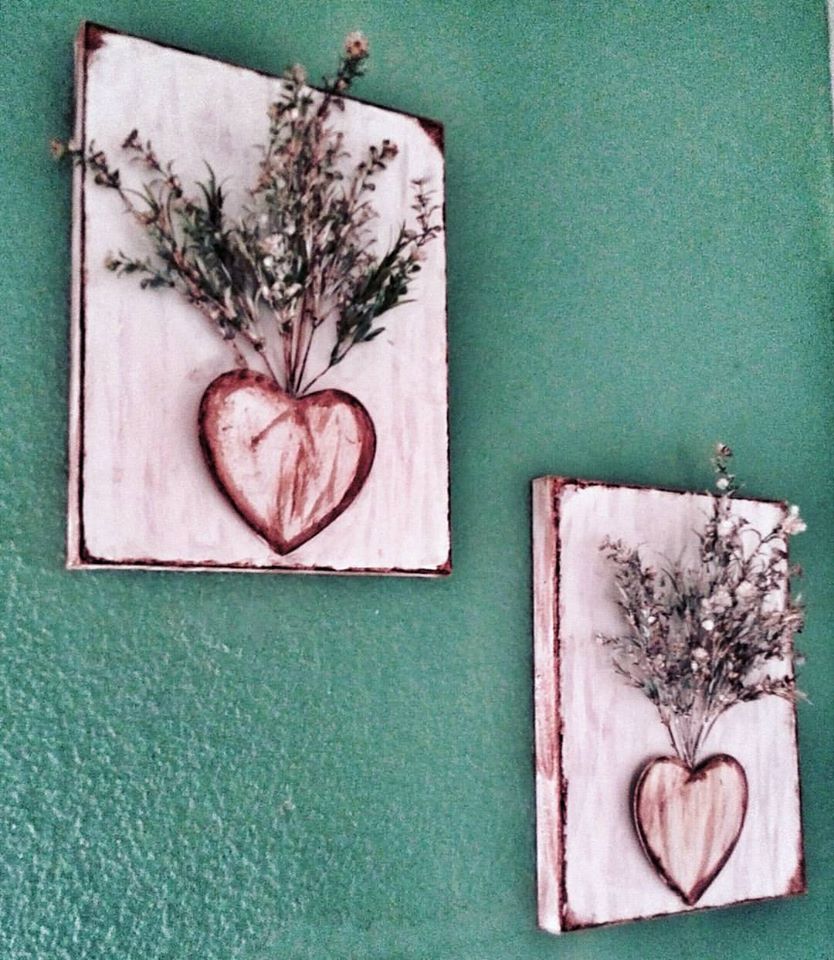
You are left with a very rustic looking 3D flower canvas artwork that family and friends won’t believe you made yourself! Make one, make many, hang solo or in a line, wherever you place this artwork it is bound to get attention.

